
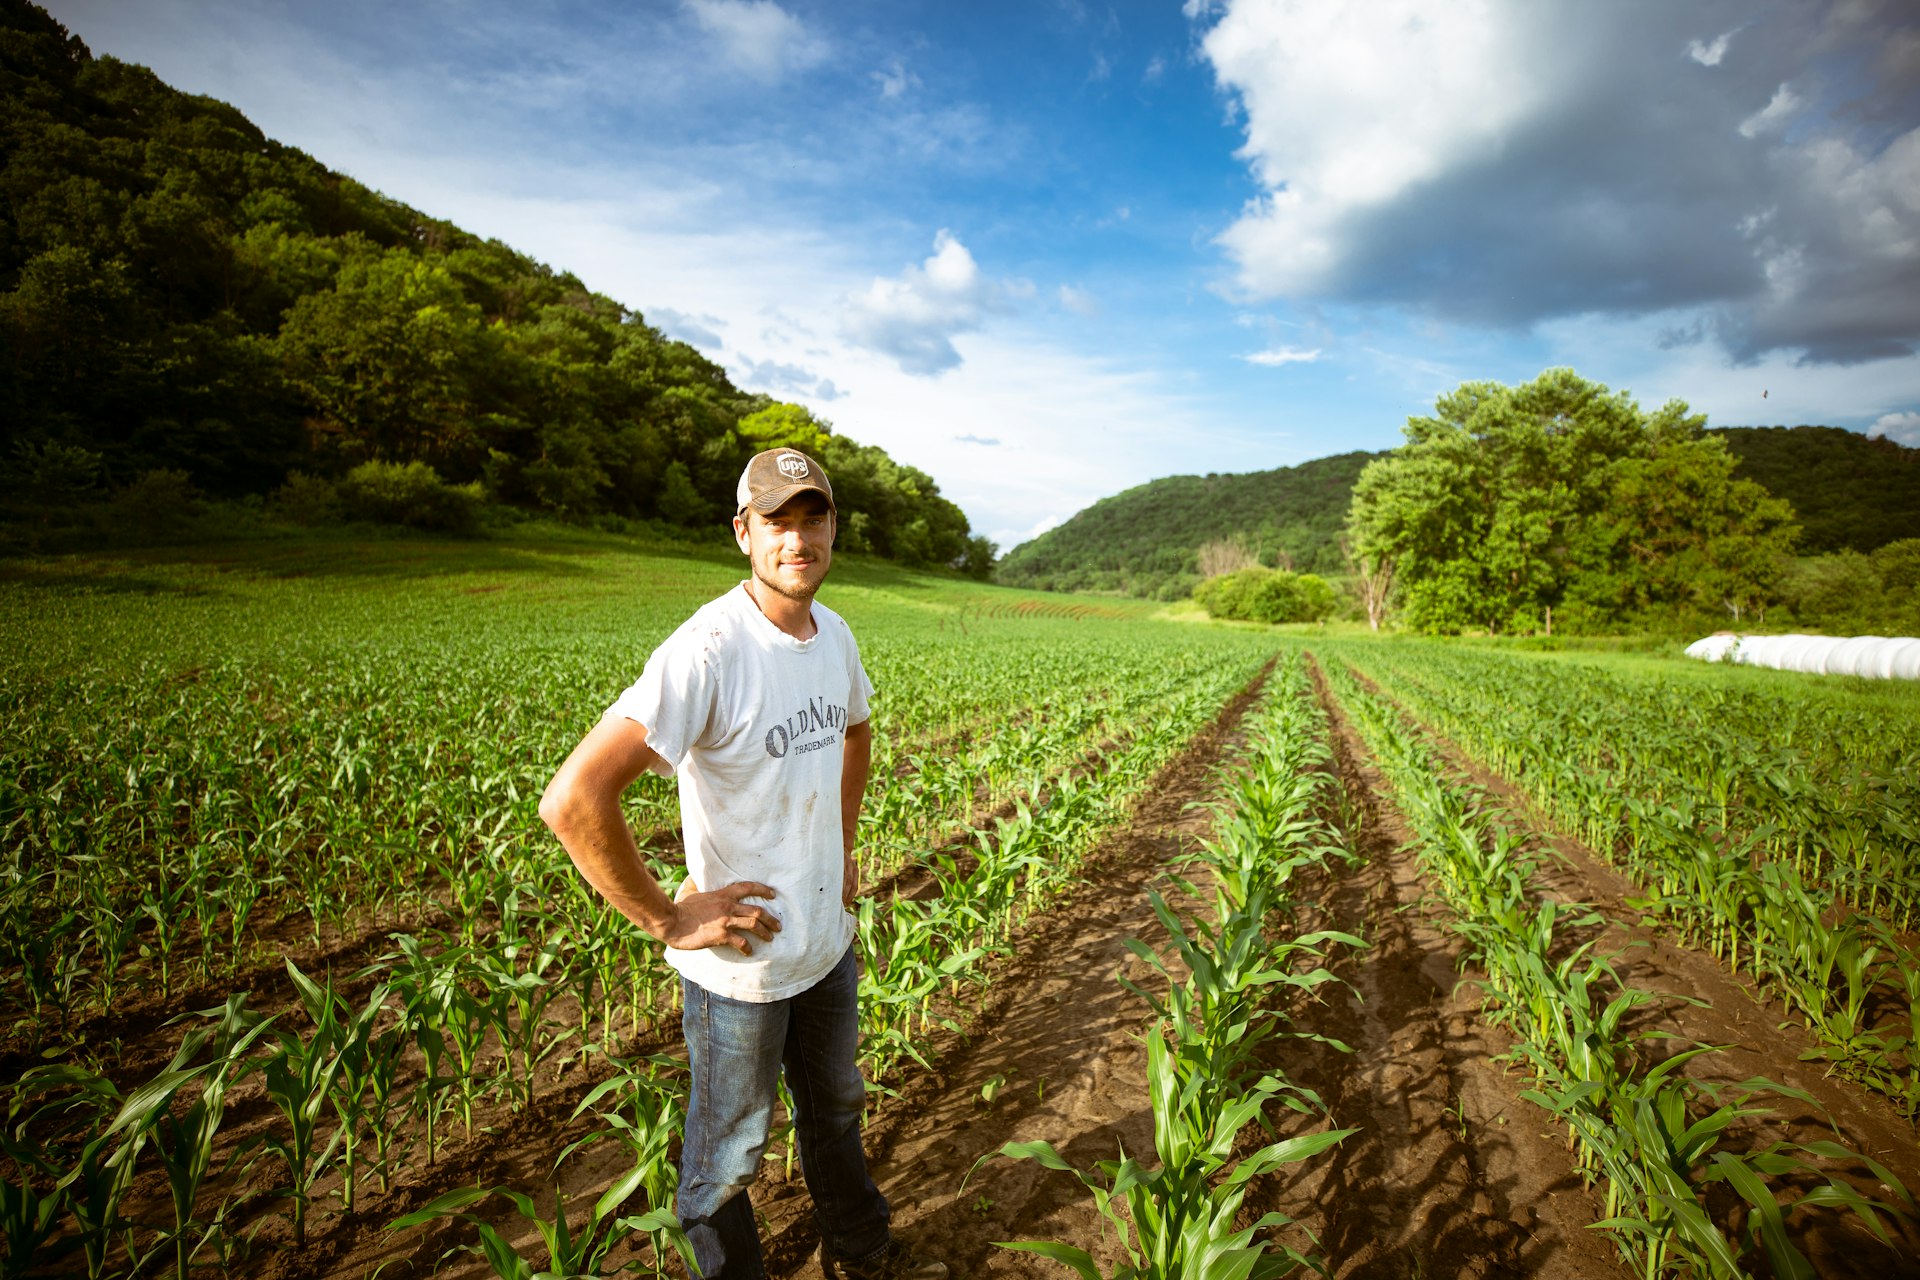
Every failed irrigation system we're asked to rescue tells the same story in reverse: the handover that never included training, the design that was never actually calculated, the water source that was never measured in the dry season. Good projects are boring by design — measured, sized, documented, handed over. This is the sequence a professional project follows, and how to recognise whether you're getting one.
Step 1: Define what success means
Before any hardware talk: what are you growing, on how much land, sold to whom? A farm supplying a supermarket contract needs uniformity and reliability a home garden doesn't. Set the target in crop terms — "full irrigation for 3 acres of vegetables through Yala, expandable to 5" — and every later decision has a referee. This is also where budget honesty matters: a phased system done properly beats a complete system done cheaply, and good design makes phasing easy.
Step 2: Measure the water source — in the season that matters
The water source is the foundation everything rests on, and the number that matters is dry-season yield, not what the well shows in November. A proper assessment establishes:
- Yield — a draw-down test for wells and boreholes; measured flow for streams and channels; realistic storage arithmetic for tanks.
- Reliability — what happens to this source in a failed monsoon? Is there a backup, or is the design margin the backup?
- Legal access — agrarian services and water rights where common sources are involved.
Step 3: Test the water quality
A basic test — sand and silt load, algae and organic matter, iron, hardness, salinity and pH — decides the filtration design and sometimes the emitter choice itself. High iron favours certain filter and flushing regimes; salinity influences both crop choice and leaching schedules; heavy algae mandates media filtration. Skipping this test to save a small fee is how emitters die young — the theme of our drip guide's filtration section.
Step 4: Survey the land
Topography drives hydraulics. Elevation differences change pressure zone by zone (roughly 1 bar per 10 metres), which decides where pressure-compensating emitters are needed, how zones are cut, and whether an elevated tank can replace pumping energy entirely. Soil type sets the wetting pattern and scheduling rhythm. A day with survey equipment here saves years of uneven watering later.
Step 5: Hydraulic design — the calculated part
Now, and only now, the system is designed: pipe diameters sized to keep friction losses sane, zones balanced so each valve serves a similar flow, the pump chosen from the intersection of total dynamic head and demand (see the sizing logic in our solar pumping guide), filtration matched to the water test, and the controller sized with spare stations for the expansion you mentioned in Step 1. You should expect to see this design: a zone map, a bill of materials, and numbers a second engineer could check.
Step 6: Installation — where quality is buried
Most of an irrigation system disappears underground within days, which is exactly why installation discipline matters: trench depths that protect pipe from cultivation and traffic, proper bedding, solvent joints made clean and cured, thrust blocks where mains change direction, and valve boxes that will still open five years from now. Branded components — Rain Bird valves and rotors, Jain and NaanDanJain drip lines in our installations — cost a real margin over unbranded imports, and repay it in the currency that matters: parts that exist when you need them a decade later.
Steps 7–8: Commissioning, training and the long relationship
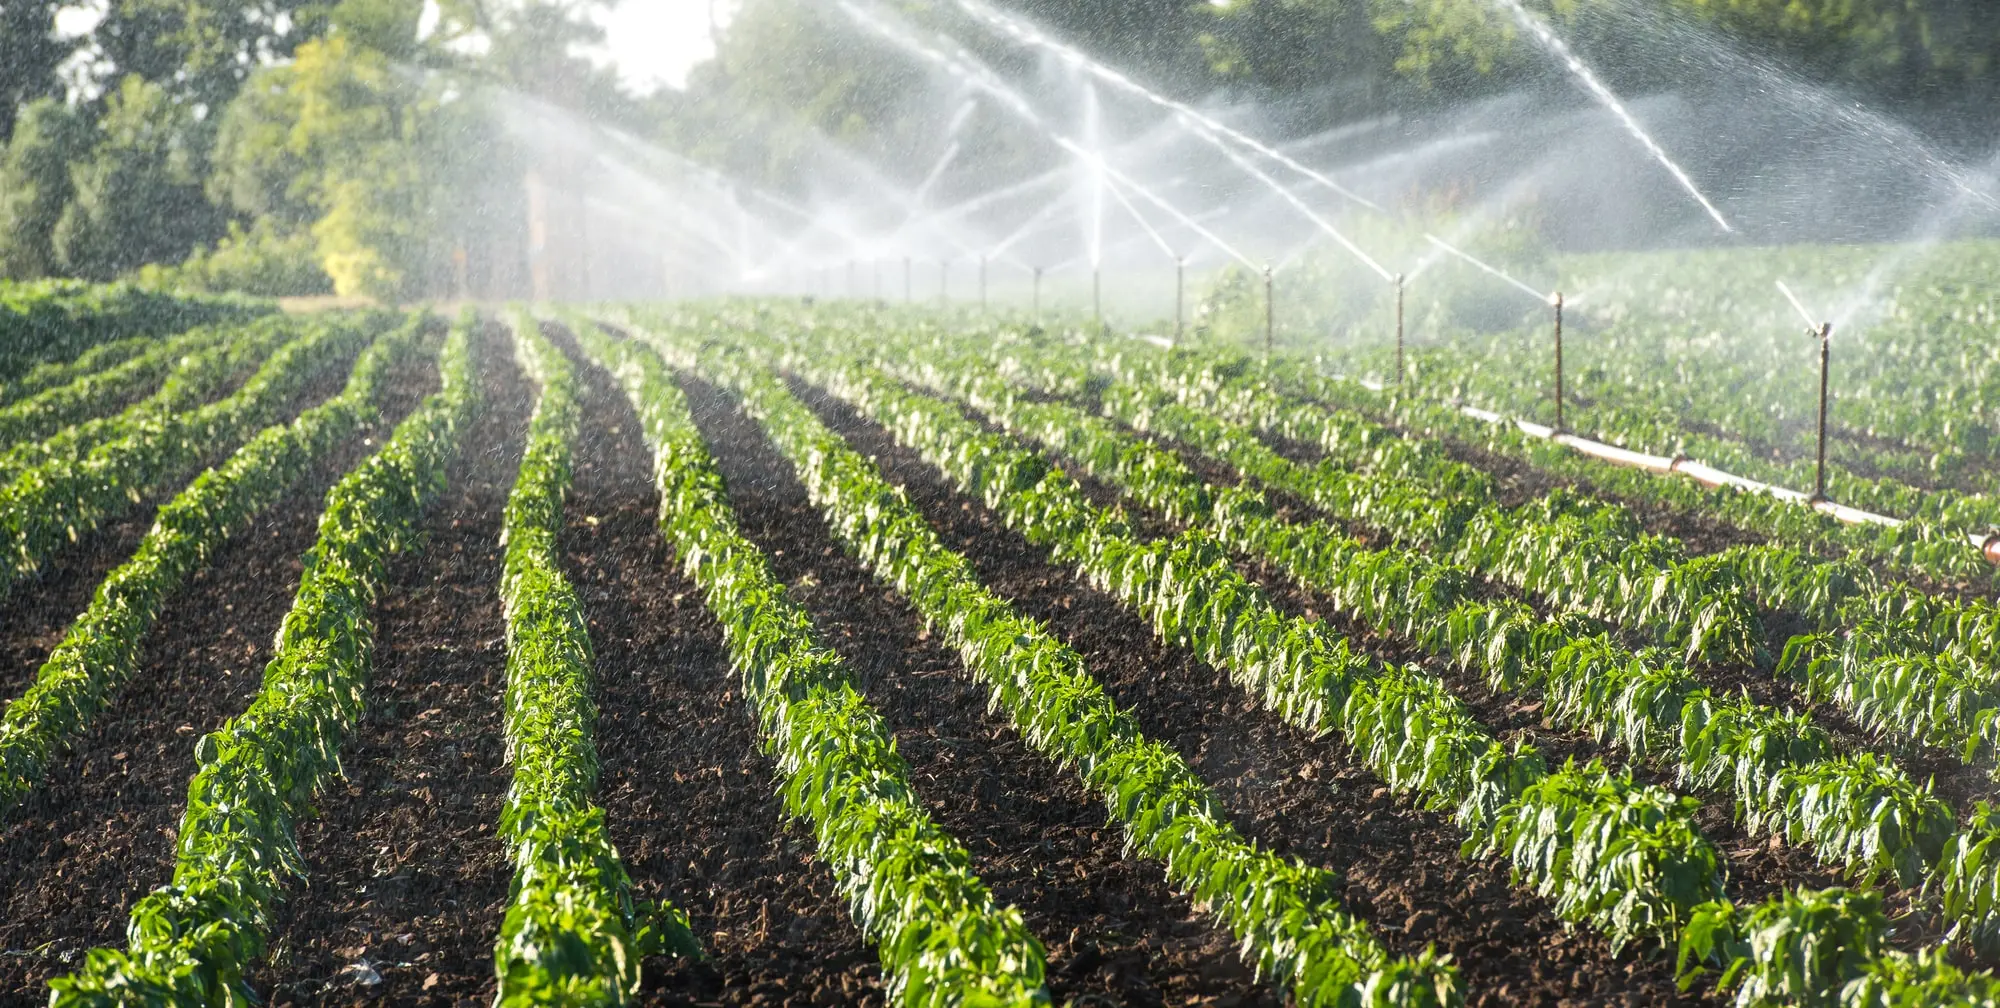
Commissioning is the difference between "the water comes out" and "the system performs to design": pressures verified zone by zone, uniformity spot-tested, controller programmed for the actual crops, filters flushed and demonstrated, and your team trained on the weekly routine (our maintenance calendar is handed over here). Documentation — as-built drawings, warranties, spares list — goes in a folder that outlives staff changes. Then the support relationship begins: with us, a 3-year warranty, a free first year of service, and island-wide access to genuine spares.
Questions that protect you from bad contractors
| Ask | A good answer sounds like | Walk away if |
|---|---|---|
| "What is my source's dry-season yield?" | A measured number from a draw-down or flow test | "It should be fine" — no measurement |
| "Can I see the hydraulic design?" | Zone map, pipe sizes, pump curve, bill of materials | A single-line quote with a lump sum |
| "What filtration, and why?" | Filter stages justified by a water test | "A filter is included" — unspecified |
| "Whose components, and where are spares?" | Named brands with a local parts channel | Unbranded 'equivalent' hardware |
| "What does commissioning include?" | Pressure/uniformity verification + training + documents | "We'll switch it on and show you" |
| "What happens after handover?" | Defined warranty, service schedule, response route | Silence, or a phone number that stops answering |
Ready to plan properly?
Whether you're converting from flood irrigation, planning a new farm, or rescuing an underperforming system, the path starts the same way: a site visit and a numbers-first conversation. See our solutions, browse the projects this process has delivered — from Parliament grounds to dry-zone cooperatives — and book a consultation.